Seu Carrinho
Não existem mais produtos no seu carrinho
-
ARDUINO
- RASPBERRY
- MICRO:BIT
- KITS
-
COMPONENTES
-
Resistências Elétricas
- Kit de Resistências
- Resistências 1% 125mW
- Resistencias 1% 250mW
- Resistencias 1% 500mW
- Resistencias 1% 600mW
- Resistências 1% 1W
- Resistencias 1% 2W
- Resistências 5% 125mW
- Resistencias 5% 250mW
- Resistencias 5% 500mW
- Resistências 5% 1W
- Resistencias 5% 2W
- Resistencias 5% 3W
- Resistências Potência
- Resistências Várias
- Redes Resistencias
- Termistores
- Trimmers
- Trimmers 3296
- Joysticks
- Botões
- Potenciometro slider
- Potenciometros Rotativos
- Potenciometro Multivolta
- Potenciometros Motorizados
- MODULOS
- SENSORES
- ROBÓTICA
- IMPRESSÃO 3D
-
FERRAMENTAS
Ferramenta Eletronica
- Acessórios
- Analisador Logico
- Alicates para Eletronica
- Berbequins
- Caixas Arrumação
- Chaves de Precisão
- Chaves Ajuste
- Extensões
- Fita Isoladora
- Fonte de Alimentação
- kit Ferramentas
- Lupa Eletronica
- Aparelhos de Medida, Multímetros e Outros
- Osciloscopios
- Pinças para Eletrónica
- Pontas de Prova
- Material Soldadura
- Spray de Limpeza
- Tornos e Suportes
- PROMOÇÕES
- BLOG
Português
EUR €
Standalone 5-Pad Capacitive Touch Sensor Breakout - AT42QT1070
This breakout board is the simplest way to create a project with mutiple capacitive touch sensors.
Descrição
Standalone 5-Pad Capacitive Touch Sensor Breakout - AT42QT1070
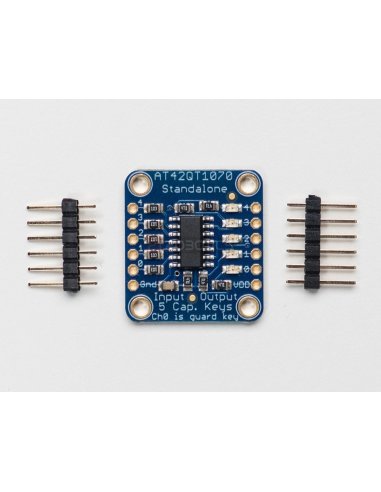
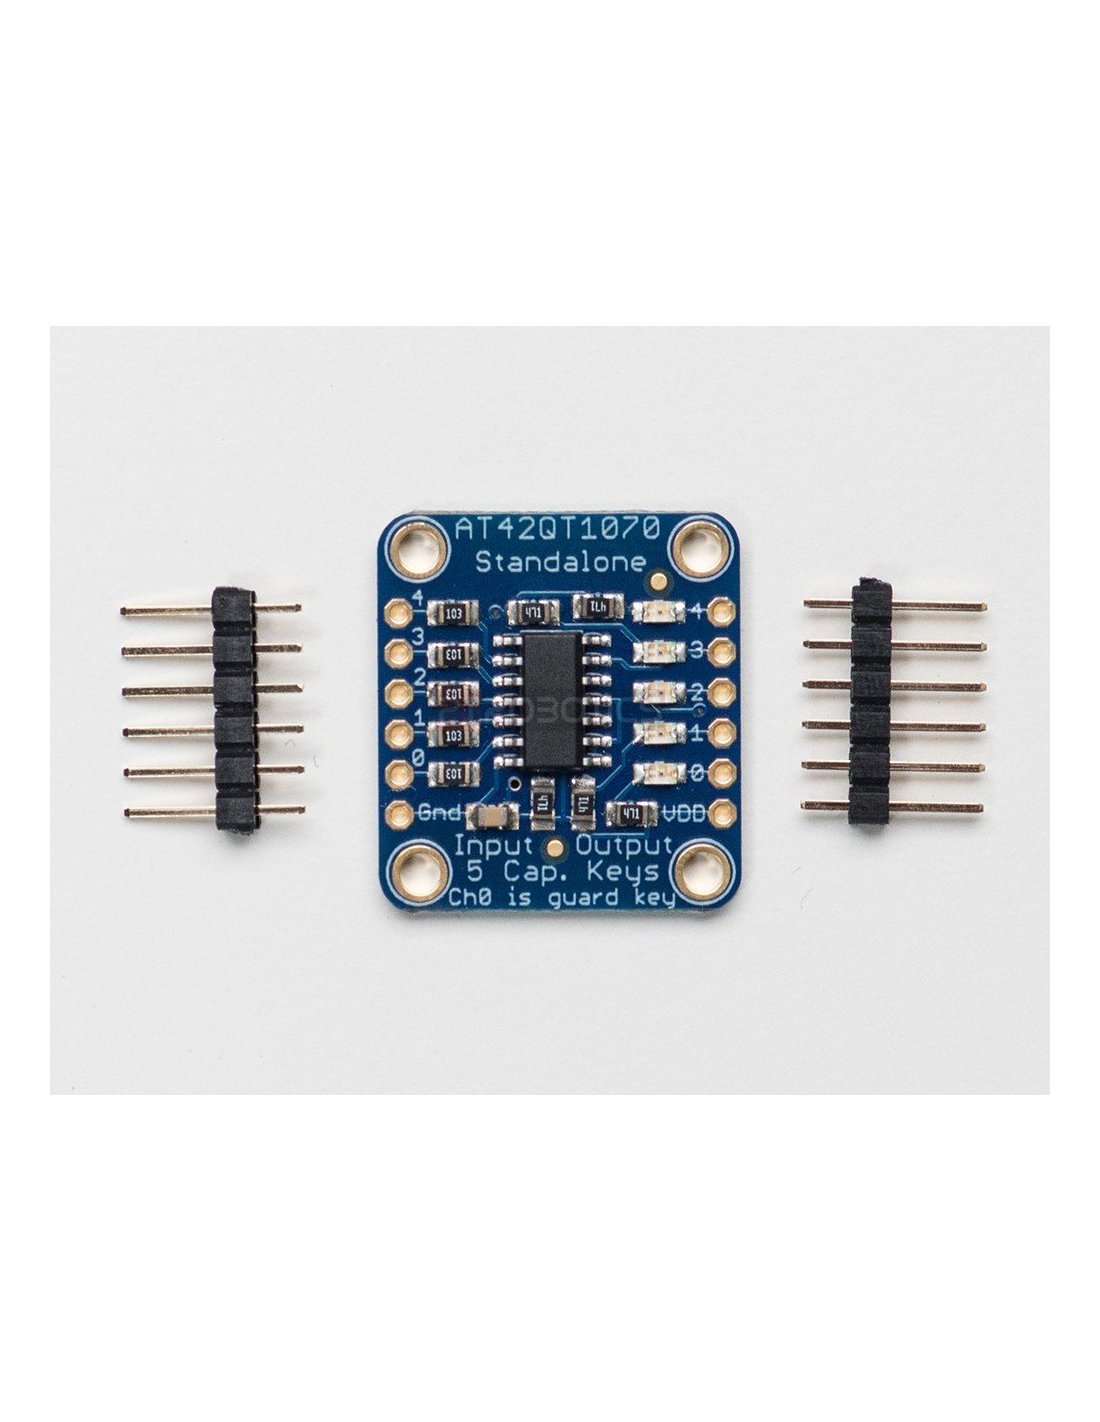
This breakout board is the simplest way to create a project with mutiple capacitive touch sensors. No microcontroller is required here - just power with 1.8 to 5.5VDC and connect up to 5 conductive pads to the 5 left-hand pins. When a capacitive load is detected (e.g. a person touches one of the conductive contacts) the corresponding LED on the right lights up and the output pin goes low. You can use this to update an existing normal-button project where buttons connect to ground when pressed.
Note that only one contact will be detected at once (this is to protect against having a hand brush against two or more contacts at once.
Comes with a fully assembled board, and a stick of 0.1" header so you can plug it into a breadboard. For contacts, we suggest using copper foil, then solder a wire that connects from the foil pad to the breakout.
The datasheet has many details on sensitivity, power usage, etc. - note that this board uses the chip in 'standalone' mode only, it cannot be used in I2C mode.