Seu Carrinho
Não existem mais produtos no seu carrinho


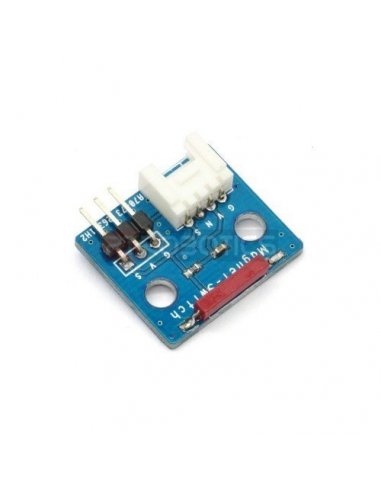


It is based on encapsulated dry reed switch CT10. CT10 is single-pole, single throw (SPST) type, having normally open ruthenium contacts.
It is based on encapsulated dry reed switch CT10. CT10 is single-pole, single throw (SPST) type, having normally open ruthenium contacts. The sensor is a double-ended type and may be actuated with an electromagnet, a permanent magnet or a combination of both.
Overview
What is an electronic brick? An electronic brick is an electronic module which can be assembled like Lego bricks simply by plugging in and pulling out. Compared to traditional universal boards and circuit modules assembled with various electronic components, electronic brick has standardized interfaces, plug and play, simplifying construction of prototype circuit on one’s own. There are many types of electronic bricks, and we provide more than twenty types with different functions including buttons, sensors, Bluetooth modules, etc, whose functions cover from sensor to motor drive, from Ethernet to wireless communication via Bluetooth, and so on. We will continue to add more types to meet the various needs of different projects.
Electronic brick of magnetic switch can be connected to digital I/O port to obtain the current status of magnetic switch by reading the current digital signal. Generally speaking, output is high level; when the sensor encounters magnetic objects (such as magnet), output is low level.
Features
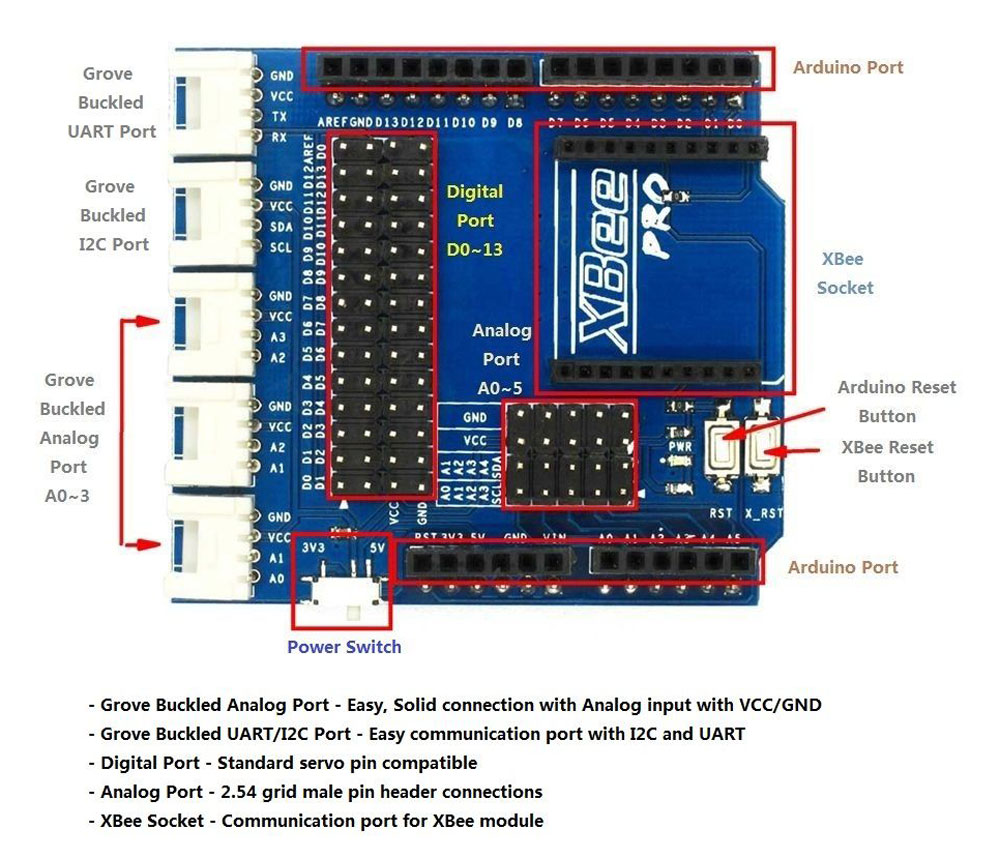
1. Plug and play, easy to use. Compatible with the mainstream 2.54 interfaces and 4-Pin Grove interfaces in the market.
2. With use of M4 standard fixed holes, compatible with M4-standard kits such as Lego and Makeblock.
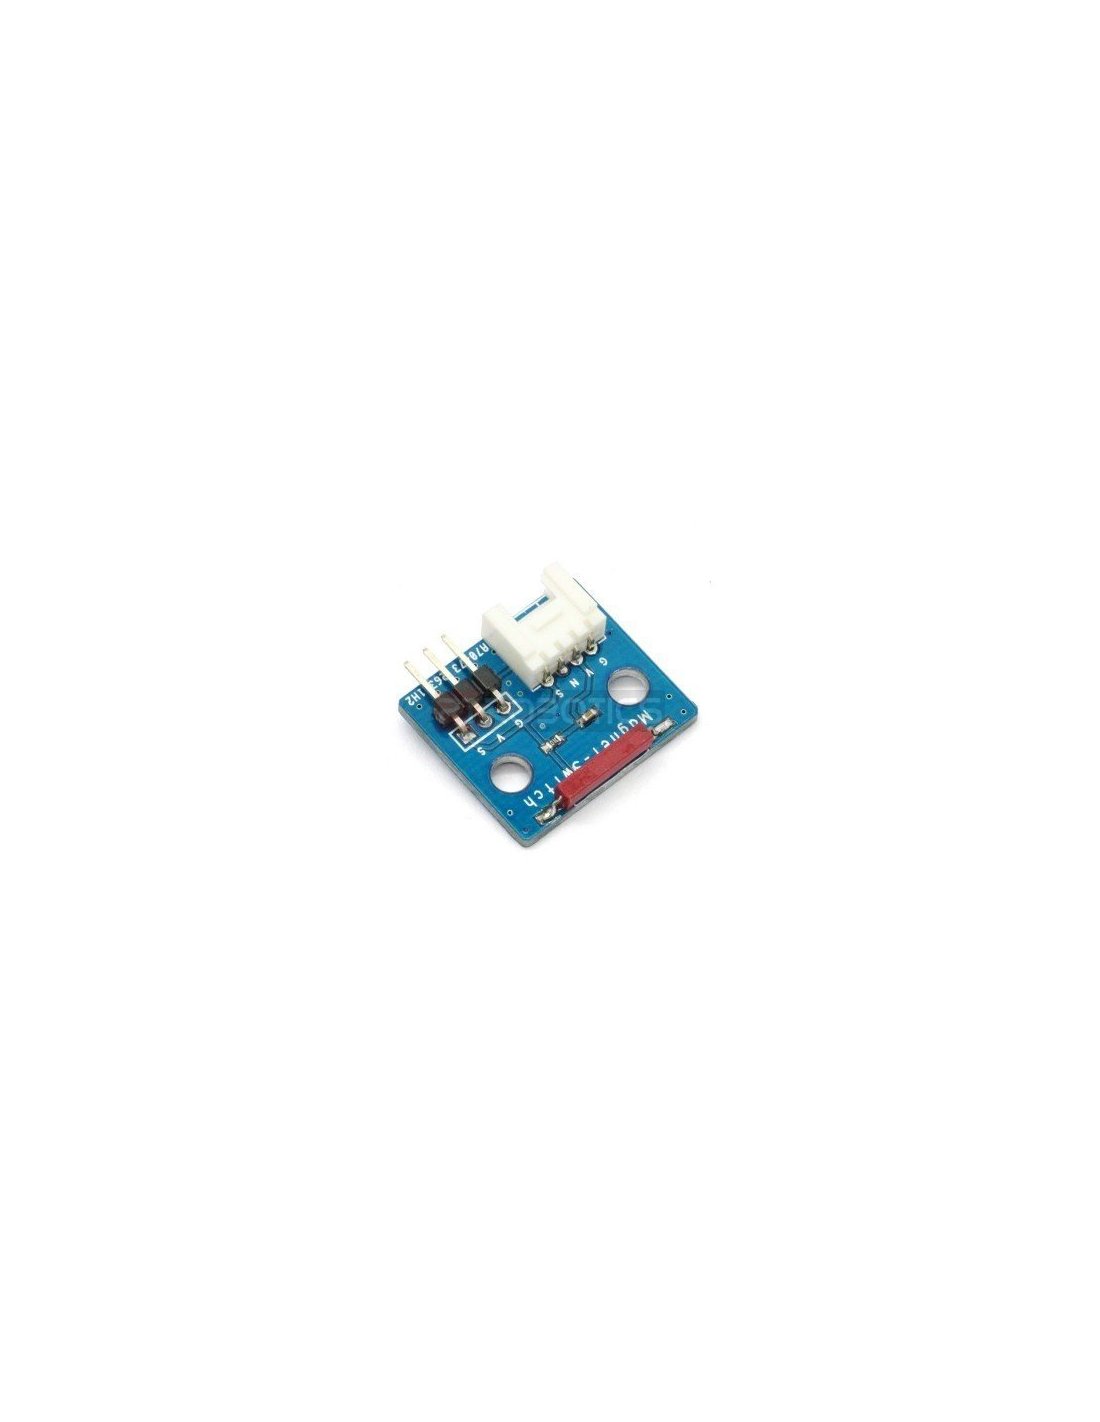
3. Sensor is located on the edge of PCB to facilitate detection.
Specifications
| PCB size | 24.0mm X 21.0mm X 1.6mm |
| Working voltage | 3.3 or 5V DC |
| Operating voltage | 3.3 or 5V DC |
| Compatible interfaces | 2.54 3-pin interface and 4-pin Grove interface(1) |
Note 1: S for digital output port, V and G for voltage at the common collector and ground respectively
Electrical characteristics
| Parameter | Min. | Typical | Max. | Unit |
| Working voltage | 3 | 5 | 5.5 | VDC |
| Digital output voltage(VCC=5V) | 0 | - | 5 | V |
| Working current(VCC=5V) | - | 436 | - | uA |
DEMO
Connect S port of electronic brick of magnetic switch to D2 port of Arduino board, and we will use the following program to read its digital value. If the digital value is high level, LED lamp will be ON; if the digital value is high level, LED lamp will be OFF.
|
1
2
3
4
5
6
7
8
9
10
11
12
13
14
15
16
17
18
19
|
int magnet=2; //connect tilt to D2int LED=13;void setup(){ pinMode(LED, OUTPUT); pinMode(magnet, INPUT); } void loop(){if(digitalRead(magnet)==HIGH) //when the digital output value of tilt is high, turn on the LED. { digitalWrite(LED, HIGH); }if(digitalRead(magnet)==LOW) //when the digital output value of tilt is low, turn off the LED. { digitalWrite(LED, LOW); }} |
Download:


